Garage Floor Installation Process in Knoxville, TN
A lot of companies promise great results, but at Garage Floor Masters we believe the secret to a perfect floor is in the process. Every step is done with precision, so your floor not only looks incredible but lasts for decades
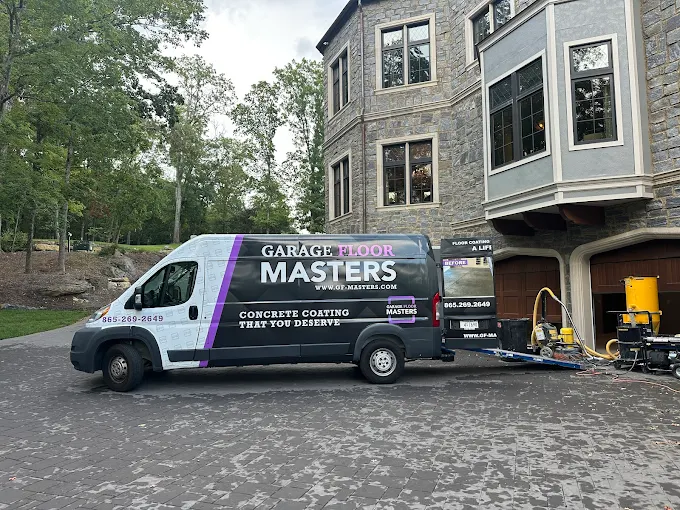
One-Day Installation Timeline
Most garage floors are completed in a single day. Here’s what a typical schedule looks like:
- 8:00–10:00 AM – Preparation & Grinding
- 10:00–12:00 PM – Concrete Restoration
- 12:00–2:00 PM – Base Coat & Chip Application
- 2:00–3:00 PM – Setup / Cure Time
- 3:00–5:00 PM – Scraping & Polyaspartic Top Coat
By the next morning, your garage is ready to use again.
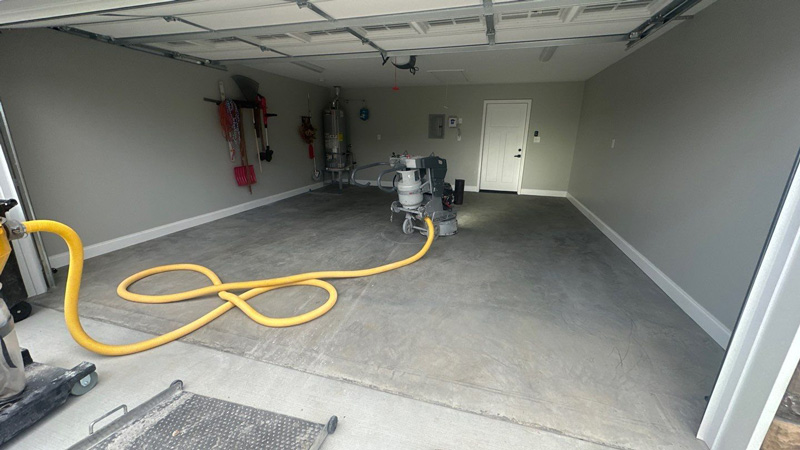
Step 1: Preparation & Grinding
Every great floor starts with great prep. We clear out the space and thoroughly clean the concrete. Then, we mechanically grind the surface using shot-blast or diamond grinders. These machines are attached to vacuums that keep dust under control, leaving a clean, open surface that the coating can bond to.
This step is crucial—proper prep means your coating won’t peel, chip, or delaminate down the road.
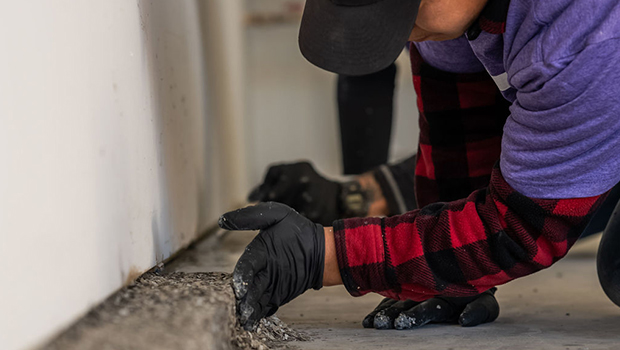
Step 2: Concrete Restoration
If your floor has cracks or pits, we repair them before the coating goes down. We use high-quality fillers to restore the concrete to a smooth, even surface. This ensures your final coating cures evenly and maintains strength without being stressed by imperfections.
A restored base means a flawless finish.
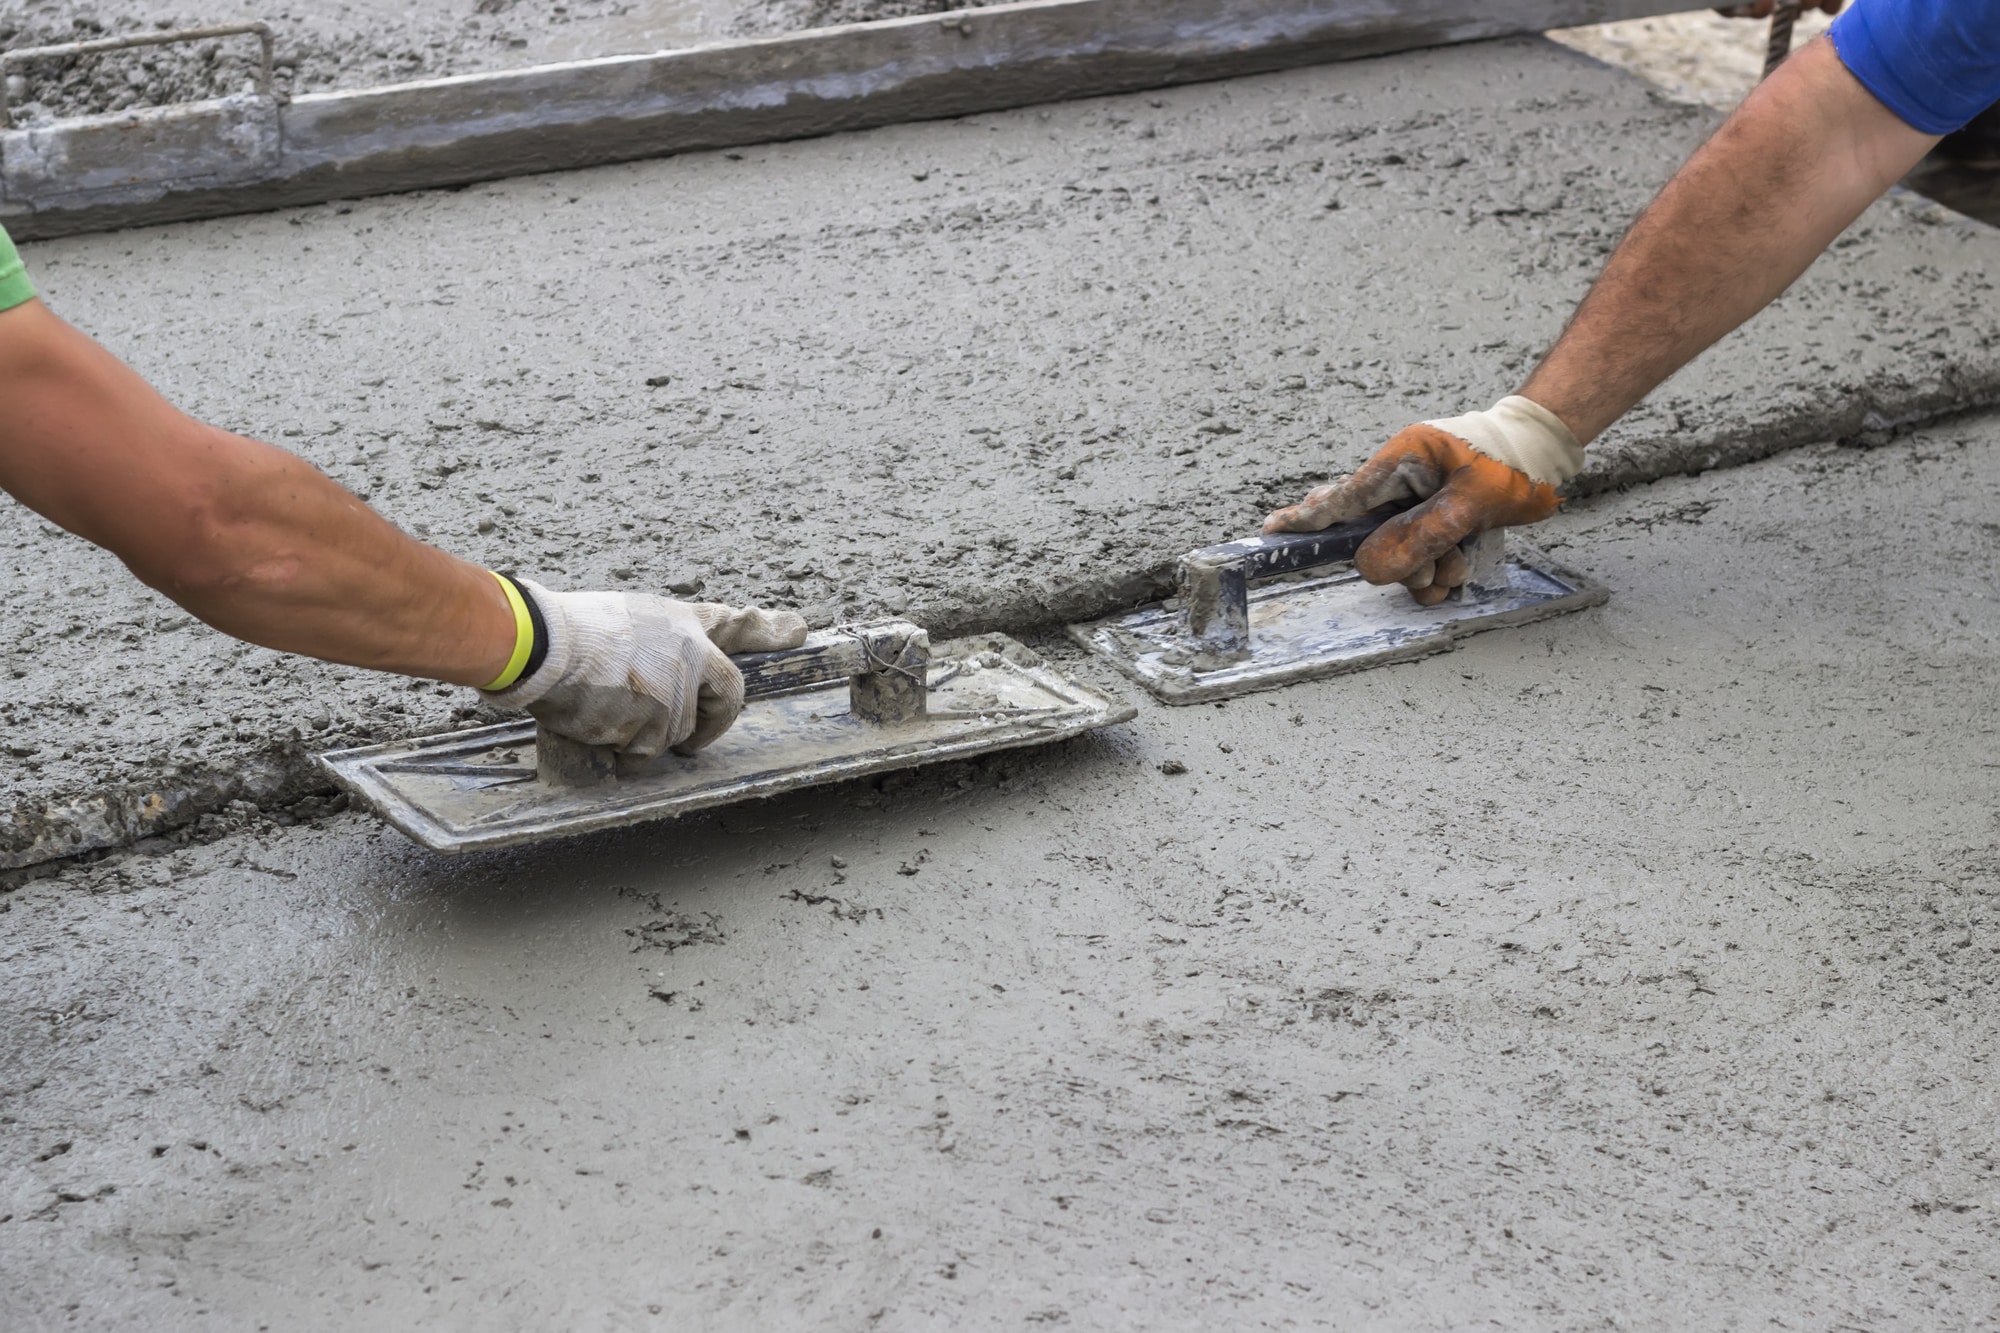
Step 3: Base Coat & Decorative Flake
Next, we apply a polyurea base coat, which provides a strong foundation. While it’s still wet, we broadcast decorative TORGINOL® Polymer ColorFlakes™ across the floor by hand.
This step adds both texture and personality (with your choice of color blend). With over 140 flake options—including our 15 most popular blends in East Tennessee—you’ll have the freedom to match your style.
Step 4: Setup & Cure
Once the base and flake are applied, we allow the floor to set up. This usually takes 1–2 hours, depending on garage size, weather, and coating type. Polyaspartic technology cures quickly, so the process moves faster than traditional epoxy systems.


Step 5: Scraping & Smoothing
After curing, we scrape the floor to remove excess flakes and vacuum away dust. This levels the surface and ensures the final coat bonds smoothly and evenly. The result is a professional finish that feels as good as it looks.
Step 6: Polyaspartic Clear Top Coat
The final step is applying a polyaspartic clear coat. This top coat locks everything in and provides:
- Protection against UV light (no yellowing or fading)
- Resistance to chemicals, abrasions, and hot tire marks
- A glossy, showroom-quality finish
This is what gives Garage Floor Masters coatings their strength, beauty, and longevity.
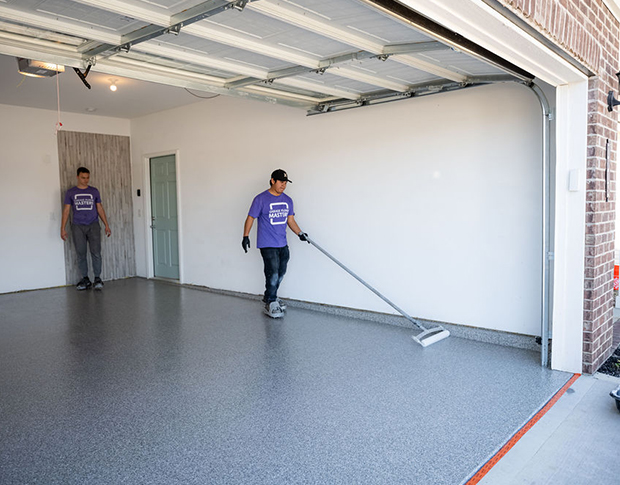
Ready in Just One Day
From the first grind to the final clear coat, your garage is transformed in a single day. By the following morning, you’re free to park your car, move your tools back in, and enjoy your brand-new space.
- 2925 NW Park Dr, Knoxville, TN 37921
- 865-346-3818
